Using PurgeCSS with Hugo
Contents
PurgeCSS is a great tool which can dramatically reduce the amount of compiled CSS deployed to your site by removing any classes that are not being used in your HTML markup - leaving only the CSS which is used. This will decrease the file-size of the compiled CSS and in turn, improve page load speeds.
There are a few different ways of integrating PurgeCSS into your Hugo build process.
You could use the CLI and add a script to run PurgeCSS after Hugo has finished building.
In this tutorial though we’ll use PurgesCSS with PostCSS to immediately process the changes. For this you’ll need Hugo Extended which supports SCSS.
Install PurgeCSS
First of all, install the required PurgeCSS PostCSS package:
npm install postcss postcss-cli @fullhuman/postcss-purgecssCreate config file
Next (if you don’t have one already) create a postcss.config.js at the project root with these contents as an example starting point.
module.exports = {
  plugins: {
    "@fullhuman/postcss-purgecss": {
      content: [
        "./assets/js/*.js",
        "./content/*.md",
        "./layouts/**/*.html",
        "./static/js/*.js",
      ],
      safelist: [
        "arrow",
        "tooltip",
        "tooltip-arrow",
        "tooltip-inner",
        "webmentions",
      ],
      blocklist: [
        "btn-group"
      ],
    },
  },
};-
The content section is what PurgeCSS will scan to include all the CSS classes that are used on your site so make sure you include the path to your markdown files, your templates and any JavaScript which may inject CSS classes to your templates DOM.
-
The safelist section can be used to list any CSS classes that you never want removing. Ensure that any CSS is added here that maybe loaded via any externally hosted JavaScript.
-
The blocklist section can be used to list any CSS classes that you don’t want in your compiled CSS. This will remove any CSS classes even if they are in your HTML or markdown files so be sure to only ever include CSS classes that you definitely don’t want included.
You can read more about the configuration options in the official docs.
Test
This method of using PurgeCSS with your site is quite straightforward and if setup correctly shouldn’t cause any problems, but it’s always a good idea to test your ste and ensure everything is working as expected before deploying to production.
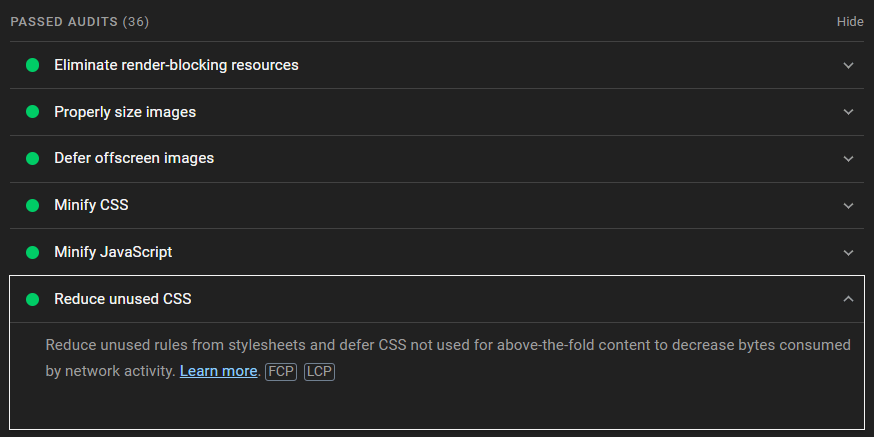
Once your site has been deployed you can test how the performance with Google’s Lighthouse Performance Audit. Lighthouse is built-in to Chrome’s Dev Tools, but I like to use the browser extension and have the icon pinned in my browser toolbar giving me immediate access to a quick audit without even needing to open dev tools. Look out for the Unused CSS rule in the audit. You should hopefully now see it in the ‘Passed Audits’.
Bonus Tip
Using PurgeCSS is a great way of reducing the compiled CSS size, but consider always minifying the other static assets at build time by adding the following to your Hugo config file.
minify:
  minifyOutput: true
This will minify your CSS, HTML, JS, JSON, SVGs and XML automatically. Read more about the Minify options in the Hugo Docs.
Note: This blog post covers what I’ll go over in the ‘Using PurgeCSS with Hugo’ talk for HugoConf. A quick demo repo is at: https://github.com/coliff/purgecss-test/